Best Air Fryers for Large Cuts of Meat: Tested
By Aiko Tanaka • 28th Apr
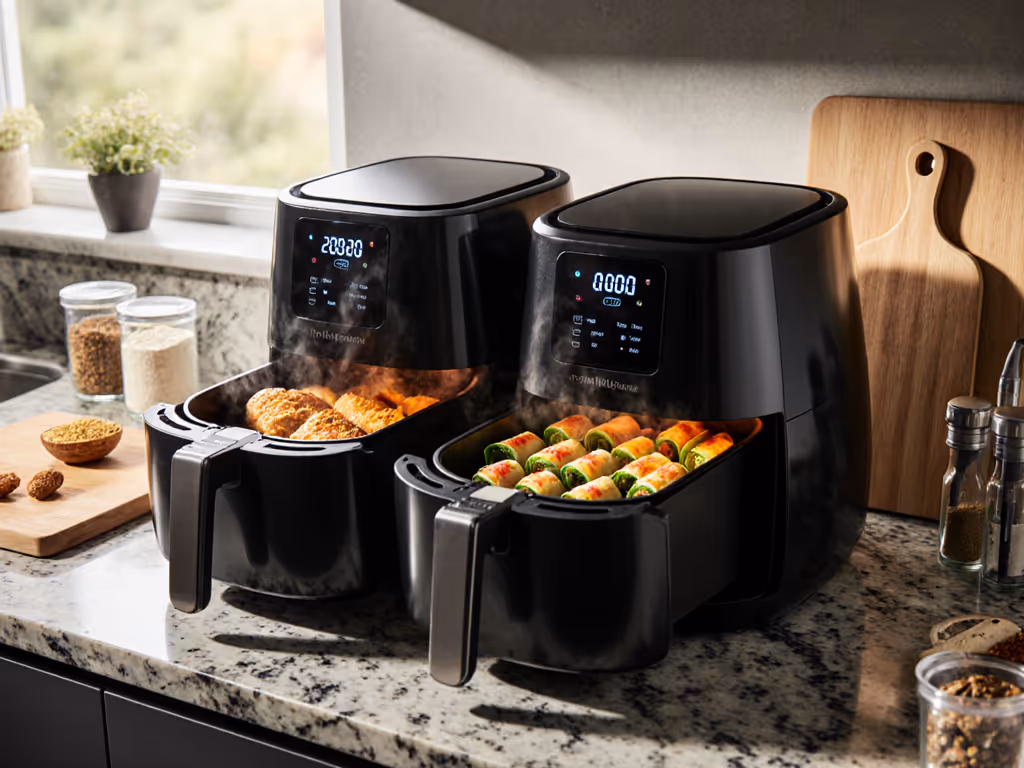
Large cuts of meat (whole chickens, roasts, thick-cut steaks, turkey breasts) demand more than marketing claims and quart capacity numbers. A best air fryer for large cuts of meat must handle heat distribution evenly, fit real portions without unsafe crowding, and deliver predictable browning from center to edge. The test isn't just whether it fits your protein; it's whether cleanup stays friction-free afterward, whether you'll actually reach for it weeknight after weeknight, and whether the basket geometry supports reliable results across batches.
My approach to evaluating air fryers for large meat cuts centers on three measurable workflows: load-to-cook sequencing, mid-cook behavior tracking, and post-cook cleanup time. Most reviews focus on speed or crispness in isolation. That misses the rhythm of real cooking: how a basket sits in your cabinet, whether the handle clears your kitchen counter, how fat pools and whether drip zones trap debris, and, crucially, how long you're actually scrubbing when it's done. If cleanup stalls, the machine gathers dust (design for glide means every surface you touch after cooking supports the next meal, not a grudge match with burnt-on residue).
Mapping Capacity: Portions, Not Just Quarts
Capacity claims are the first friction point. A manufacturer lists "5.2-quart" or "7.1-quart" capacity, but what does that mean for a 2-pound chicken, a 3-pound roast, or six thick-cut boneless steaks? Usable space depends on basket depth, the angle of the perforated floor, and whether air must circulate around all sides or just the top.
Start by measuring against your actual proteins:
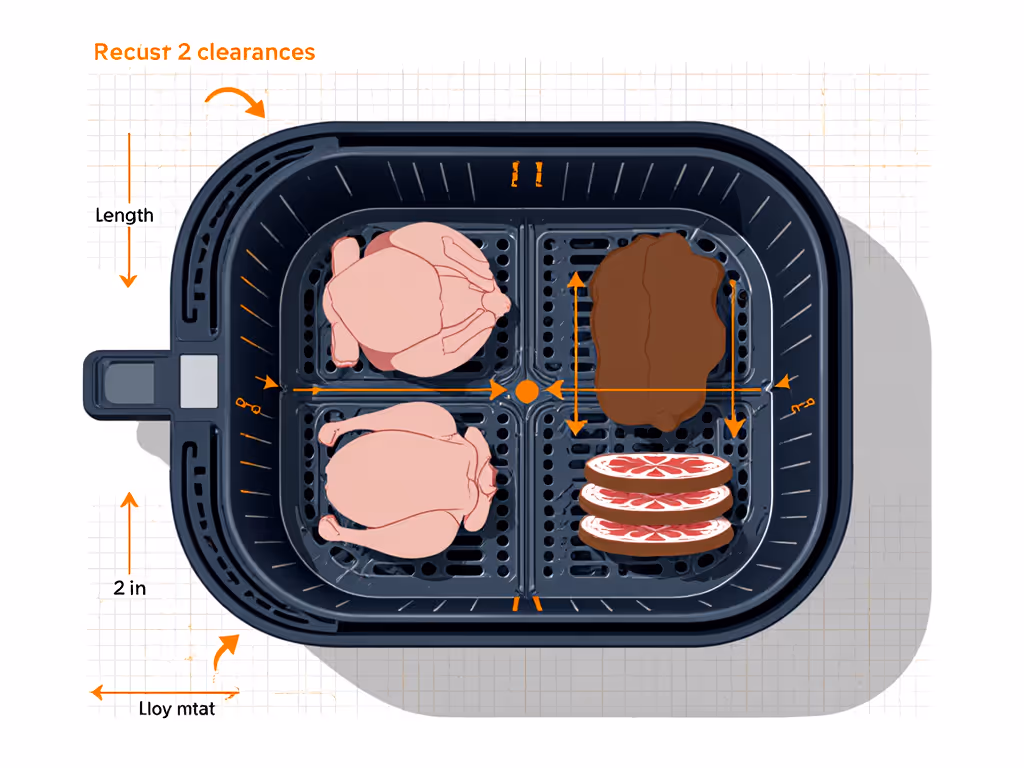
- Lay a whole chicken on a ruler and note its diagonal length and height when resting flat.
- Cut a piece of cardboard to match basket floor dimensions; trace where a 2-pound roast sits and how much clearance remains above it.
- Stack your go-to portion of meat (chicken breasts, steak cuts, or pork chops) and photograph them in the intended basket orientation.
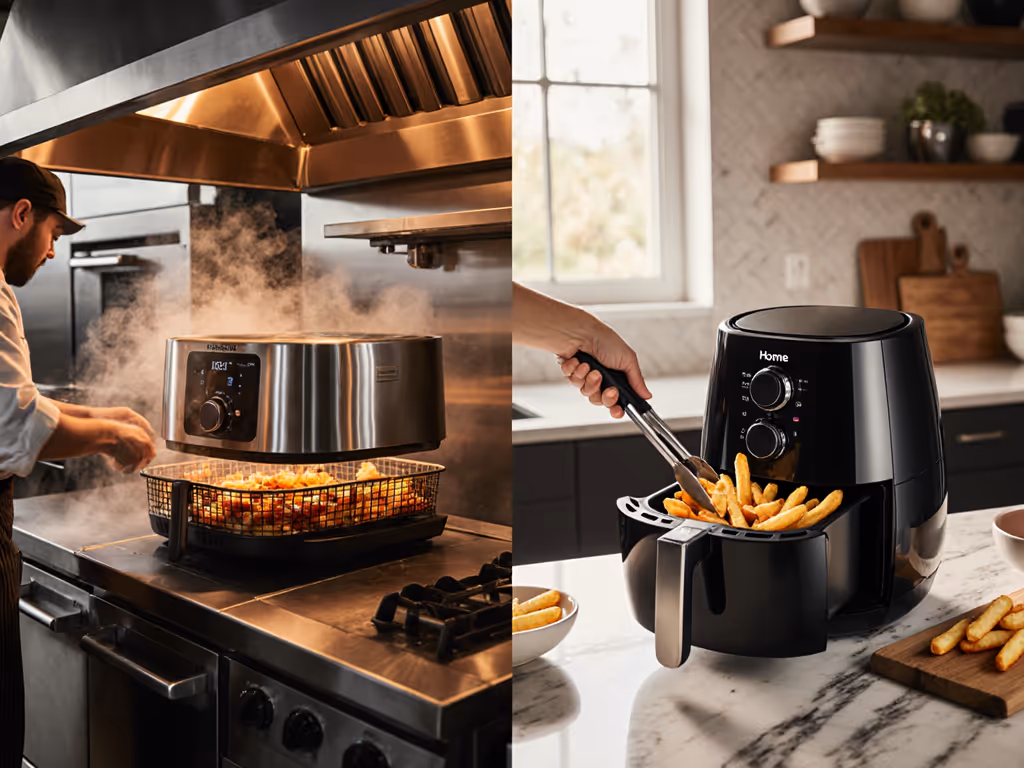
This cardboard mock-up reveals a hard truth: a 5-quart air fryer often fits only 60% of advertised capacity for large meat cuts because vertical space and footprint are strangled by depth or taper. A 7-quart model with a rectangular design outperforms a 6-quart egg-shaped unit for whole poultry. Consumer reports on whole chicken air fryer performance show that depth (not just floor area) determines evenness; shallow baskets dry edges while centers lag. For a deeper look at form factor trade-offs, see our basket vs oven air fryer comparison.
Record baseline dimensions for your top three candidate models: floor length × width, basket height, and the height of the heating element above the floor. Large meat cooks best when heated air reaches the food from multiple angles, not just down from above. A 2-inch clearance above a roast is the minimum; less, and you risk hot-spot browning and uneven doneness.
Testing Heat Distribution and Browning Evenness
Roast cooking performance comparison reveals itself over three test runs with a consistent protein (a 1.5-pound boneless chicken breast, a 2-pound pork loin, or a thick-cut ribeye steak).
Run 1: Baseline Cook
- Preheat the air fryer to its recommended temperature (typically 380-400°F for poultry, 390°F for roasts).
- Note preheat time and whether the unit maintains temperature during loading.
- Place a single large cut centered in the basket.
- Record internal temperature at the geometric center and at three edge points (top, side, bottom) using an instant-read thermometer at two-minute intervals starting at the halfway point.
- Log surface color (pale, light brown, deep brown, burnt) across four quadrants using a standardized color reference (or phone photo).
Run 2: Two-Piece Offset Load
- Load two portions side-by-side (common for family meals or batch prep) and repeat temperature/color logging.
- Note whether the pieces cooked at different rates; one often crowds airflow and browns unevenly.
- This reveals true capacity for your workflow. If one piece is done while the other lags by 8+ minutes, the air fryer doesn't scale reliably for weeknight batches.
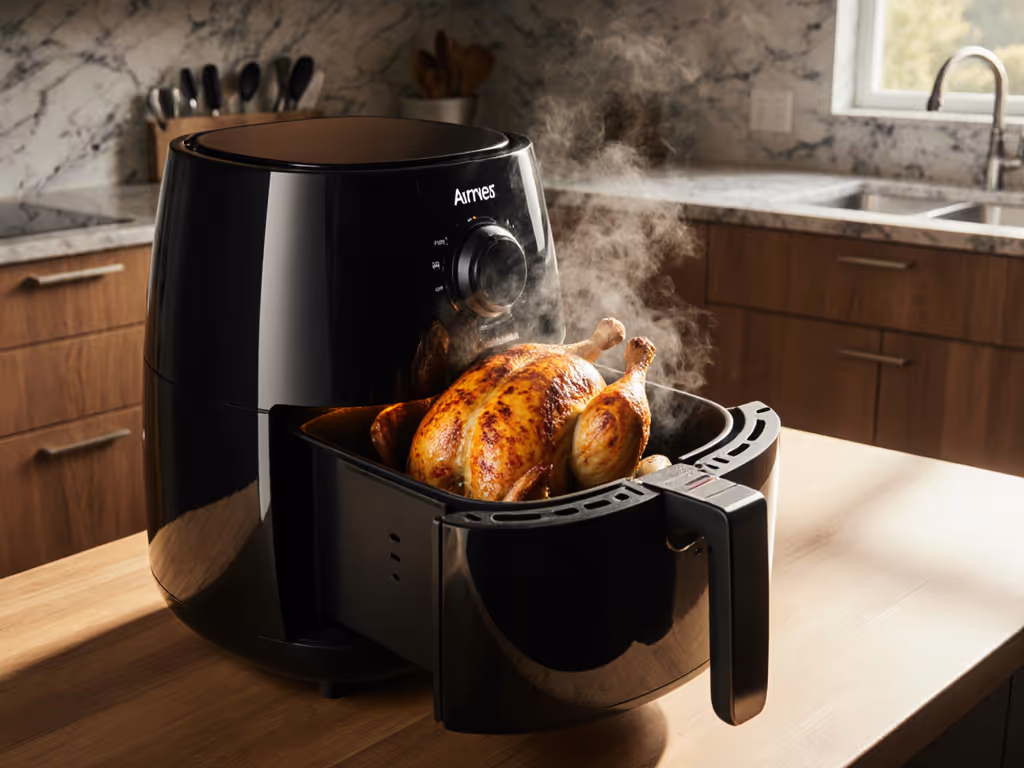
Run 3: Fat Behavior and Smoke
- Cook a fatty cut (bone-in thigh, ribeye with marbling, pork shoulder) at 400°F for 15 minutes.
- Observe whether fat pools in corners, whether it splatters onto heating elements, and whether smoke or odor appears.
- Check the drip zone design: is there a tray beneath the basket, and does grease drain freely or pool and recirculate as smoke?
- Time how long visible smoke lingers after removal.
Aircraft-quality electric turkey air fryer performance metrics show that models with enclosed drip zones and fat gutters reduce smoke by 40-60% compared to open baskets. If your kitchen alarm sensitivity is average, open-basket designs with high fat-render foods create friction (that is a design flaw, not a cooking style choice). If you encounter smoke or uneven results, use our air fryer troubleshooting guide to fix common issues fast.
Evaluating Basket Geometry and Handle Clearance
A critical but overlooked detail: can you remove the basket one-handed while wearing an oven mitt? Can you reach the farthest corner of the floor with a cleaning brush without angling your wrist 45 degrees?
Run a physical fit test in your actual kitchen:
- Place the unit on your cooking surface.
- Measure the height from counter to the basket's bottom edge when fully extended (this affects reach and back strain).
- Measure horizontal clearance to the nearest cabinet edge or wall on all sides.
- Test whether your hand fits between the basket rim and the unit body when you grip the handle.
- Note the handle material (metal vs. plastic, diameter, grip texture, and whether it insulates from heat).
- Grip the loaded basket (simulate with a 5-pound dumbbell or water-filled container) and lift. Does the handle flex? Does your hand slip under sustained weight?
Models with offset or curved handles often fail here. They look ergonomic in marketing photos, but they create torque on your wrist when loaded with a 3-pound roast. Straight handles aligned above the basket's center of gravity reduce strain and support safer one-handed extraction. This directly feeds back into your willingness to use the unit regularly. A machine that requires two-handed extraction or careful balance triggers fatigue and avoidance.
Noise and Heat Spill Monitoring
Meat cooking efficiency metrics include not just time and temperature but environmental load: how much ambient heat the unit releases and whether it runs at a noise level compatible with evening use.
Set up a sound meter (available as a smartphone app or a $40 handheld meter):
- Measure baseline kitchen noise (refrigerator hum, ambient sound).
- Record peak decibels during the preheat phase, midway through a roast cook, and during the cool-down beep.
- Log sustained noise (e.g., fan hum averaged over 30 seconds) vs. spike noise (timer alert).
- Models above 75 dB sustained create fatigue in open-concept kitchens; above 80 dB, they become a household friction point (children can't hear conversations, you avoid using it during calls). We measured the quietest air fryers so you can pick a model that won't drown out dinner conversation.
For heat spill, measure counter temperature 12 inches from the unit's sides and rear after a 25-minute roast cook:
- Safe threshold: below 110°F (still warm but not a burn risk for kids or pets).
- Most modern air fryers stay within 95–105°F; older or poorly vented designs spike to 120°F+, creating a summer cooling load and a safety concern in kitchens with toddlers.
Cleanup Time: The Silent Dealbreaker
This is where persona and practice collide. A Saturday-morning scrub session fighting onion crumbs and burnt fat splatters from a wire basket teaches a hard lesson: if cleanup takes more than five minutes and requires hand-scrubbing, the machine's real throughput drops. You'll batch fewer meals; you'll reach for the microwave instead.
Time the full cleanup sequence:
- Basket removal and inspection (5–15 seconds): Does the basket slide out smoothly? Can you see all surfaces without tilting or angling?
- Crumb and fat rinse (30–60 seconds): Cold rinse, no tools. Does most debris flush out, or does it cling to perforations?
- Scrub phase (if needed; 2–5 minutes): Soft brush, warm soapy water. Do burnt spots require scouring or elbow grease? Can you access corner seams?
- Dishwasher test (if claimed): Load basket and accessories. Run a full cycle. Remove and inspect for residual grease or discoloration. Note whether nonstick coating shows wear after 10+ cycles (look for dull patches or peeling).
- Crumb trap and exterior wipe (1–2 minutes): Many units have a sliding crumb tray beneath the basket. Empty it, rinse, reassemble. Wipe the exterior.
- Drying and storage (2–3 minutes): Does the basket air-dry, or do water spots persist? Can you store it assembled in your cabinet, or does it require disassembly?
Total time for a typical roast cook: 5-8 minutes cleanup. For step-by-step maintenance, follow our air fryer cleaning guide to keep nonstick and crumb zones in top shape. If your candidate units exceed 10 minutes, remove them from consideration. That's the threshold where habit breaks.
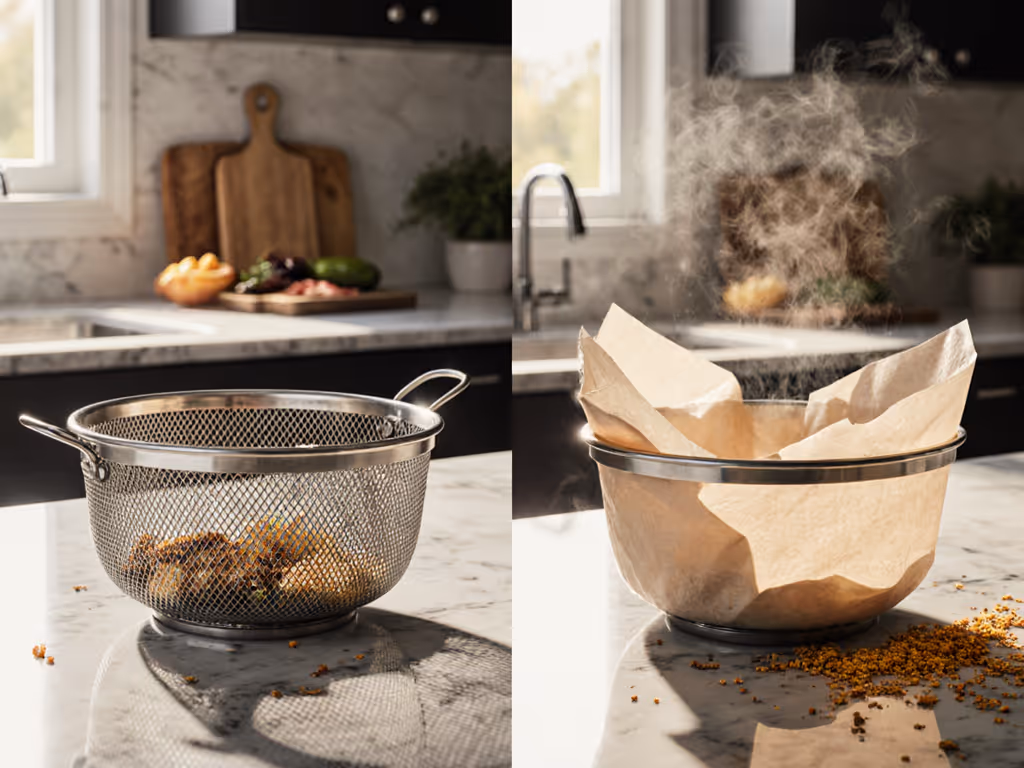
Models with fully removable, dishwasher-safe baskets (confirmed safe after 15+ cycles by third-party testing) reduce friction by 40%. Those with fixed liners or proprietary coatings that can't be directly cleaned add lingering resentment. The stainless-steel interior with a simple mesh insert outperforms fancy nonstick coatings every time because replacement inserts are cheap and the underlying structure doesn't degrade.
Preheat Consistency and Recipe Conversion
Air fryer recipes often claim "no preheat" or "preheat 2 minutes," but real behavior differs. A 3-pound roast doesn't cook the same way in a cold basket as in a stabilized one.
Standardize your test:
- Set the unit to 400°F and start a timer immediately.
- Insert a kitchen thermometer into an empty basket (no food).
- Log the internal air temperature every 20 seconds until it plateaus within ±5°F for 60 continuous seconds.
- Record actual preheat time (e.g., 4 minutes 15 seconds, not "2 minutes as claimed").
Use this actual preheat time as your baseline for all roast tests. A roast that takes 22 minutes at 400°F after a true 4-minute preheat is your real throughput anchor.
Then convert: If a conventional oven roasts a 2-pound chicken at 425°F for 50 minutes, reduce the air fryer time by 25-30% and drop the temperature by 25°F (to 400°F). Start checking doneness at the lower time; air fryer cooking is faster and more forgiving of slight overcooking than it is of undercooking. Always verify internal temperature (165°F for poultry, 145°F for pork) rather than trusting time alone.
Batch Holding and Retrieval Strategy
For families or batch-prep workflows, cooking the first roast fast matters only if the second and third emerge crispy, not soggy and cold.
Test your holding method:
- Cook roast #1 and place it on a warm plate (heated by running it under hot water for 10 seconds) loosely tented with foil.
- Start roast #2 immediately.
- After roast #2 is done (typically 20–25 minutes later), check the texture of roast #1: is it still crispy on the exterior, or has steam condensation made it soft?
- If soft, reheat roast #1 at 350°F for 2-3 minutes uncovered (this re-crisps the outside without drying the inside).
This two-roast sequence simulates a family dinner. If the first piece is salvageable without extra fussing, the air fryer scales for your household. If it's soggy and reheating adds 8 minutes to your total, the workflow breaks, and you'll cook oven roasts instead.
Selecting for Your Space and Lifestyle
Capacity and performance are worthless if the unit doesn't fit your kitchen or you can't store it without removing cookbooks from a shelf.
Final checklist before purchase:
- Footprint fit: Measure your intended location (counter, cart, cabinet); confirm the unit leaves 6+ inches clearance on all sides for air circulation and heat dissipation.
- Door swing clearance: Does the basket pull straight out, or does the unit's design force you to open a hinged door or tilt a lid? In tight kitchens, straight-pull designs win.
- Weight and mobility: Can you move the unit to clean behind it, or is it a two-person lift? Lighter units (under 8 pounds for mid-size models) are more likely to get repositioned or transported.
- Noise tolerance: If you cook weeknight evenings and live in an open-plan space, prioritize models under 75 dB sustained.
- Warranty and support: Does the manufacturer offer a straightforward replacement or repair process? Are replacement parts (baskets, liners, thermostats) readily available and reasonably priced? This signals whether they expect the unit to last or whether they're betting on replacement sales. Compare coverage across top brands in our air fryer warranty analysis.
Your Next Step: Data-Driven Selection
Don't buy based on a single attribute or influencer enthusiasm. Test the three models that survive your capacity and noise screening using the full sequence above: baseline cook, offset load, fat behavior, cleanup time, preheat curve, and batch holding.
Create a simple spreadsheet with rows for each model and columns for each metric (preheat time, temperature variance, surface browning consistency, cleanup minutes, noise dB, cost per pound cooked). Assign a weighted score if some attributes matter more to your household. Cleanup time might outweigh a 2-minute speed difference if your schedule is tight, or noise might trump cost if your kitchen is shared.
Then, buy the model that ranks highest on your weighted criteria, not the one with the biggest marketing budget or the highest star rating from reviewers who don't share your constraints. The best air fryer for large cuts of meat is the one you'll actually use twice a week because it fits your space, your hands, your cleanup tolerance, and your meal rhythm. Everything else is noise.
Related Articles